Thursday, October 13, 2011

Playroom Curtains, Finally Finished!

Toddler is fairly destructive. She's just curious, wants to take things apart and hasn't come to the understanding that I can't always fix what she "disassembles". This went for her cheap vinyl window blinds as well. So I had to come up with curtains she would leave alone. This meant no generic free-hanging gathered curtains (she likes to hang on them and spin in them, not an option). So I found THIS DIY Roman Shade link on Pintrest and had a plan!

First of all, the above tutorial was a sew-free project. I'm a sew-er, so I modified the plans to fit my abilities (I just don't feel as capable with fabric tape, I feel like it would just fall apart.) Secondly, I needed fabric. We didn't find anything Toddler and I both loved at all 3 "local" fabric stores. Since we drove 90 minutes to get to them, it was frustrating to say the least. But.... redemption. We were looking for crayons, glue and other supplies at Target and Toddler grabbed a package of Twin Sized Sheets off a Clearance End Cap. I almost told her to put them back because she still sleeps in a toddler bed (or our bed... usually our bed). But a lightbulb clicked. I don't anticipate the need for blackout curtains in a playroom, so why not use this fabric? 


It was a success, we've decided to work the rest of the playroom off the colors of this fabric! And as a bonus, for only $7, I had enough fabric for the curtains and an entire flat sheet of fabric to spare for any other projects I think of for the play room.

Thirdly, I needed cheap vinyl blinds, regular Elmer's Glue and a hot glue gun.

Then I decided I wanted a valence for the treatment as well. So I found two of my old skirts, one pink and one teal, both miraculously matching the fabric Toddler picked out. There was just enough fabric to complete two valences for the two windows. Then, instead of a traditional rod, I wanted to try something a little more whimsical and cut a few small dry branches out of our brush thicket. I spray painted them and used plant hangers to fix them onto the wall. I then custom fit the valence to the branch and tada!

Here is the finished window treatment!


What do you think?

Wednesday, October 12, 2011

Wordless Wednesday: Baby Girl Explores the World Around Her

Comfort 101: Thumbs are Always the Right Size

Imitation = Flattery

Even Little Girls can beat Monsters!

Puppy Love

Saturday, October 8, 2011

Frame It Up!

I found a terrific little shop in Springfield. The owner attends estate sales throughout the area and sells terrific items! I found 2 completely UGLY frames with a LOT of potential! I didn't take before photos (oops!) but the square frame was aged gold. It is a plastic frame and it was hideous. But I knew there was potential so I nabbed it anyway. Honestly, I regretted the purchase by the time I was driving home. And again a day later. But I went ahead with re-purposing it anyway and I'm very happy with the results! And the larger rectangular frame was antique red wood. Painted a few times with gouges, chips and weathered. I loved it the way it was but had a different idea for the room I'm placing it in. 

Isn't it gaudy? I love it! Honestly, gold was too much. And some would say sunshine yellow is a little much too. I think it's perfect to draw attention to the simplicity of the project we're putting in this frame.

I did decide to leave the original matting alone, it's a little weathered and aged, I like how it isn't too shiny, it adds depth.

I had to share the detail of the frame, I love it! I'm glad the black tones it down a bit, otherwise it would be too busy for the project I want to frame in it.
Oh the miracles of spray paint; I think I'm in love. These are going to house a few projects I'm doing with toddler to hang in the play room when we're done ripping the walls out, insulating them (again, why oh why was this house built without insulation?!?) and redoing the drywall. I'm keeping my ideas to myself until they pan out, but I'll be making a few tutorials throughout the fun filled process! 

And this is a project I did with Toddler. It's a simple wooden craft panel and letter from the local craft shop. We mixed the paint colors from Clementine Art to match the playroom colors. I gave Toddler the paint and a sponge and let her at it. After the paint dried, I helped her glue the letter to the board. She had a ball and I love how personal the finished product is! I especially love the exposed glue that makes it so lovingly homemade looking. She did  terrific job for a little girl!

Lazy Saturday

Yes. We're enjoying peanut butter and jelly sandwiches picnic style and reading the afternoon away. Pure Bliss

Thursday, October 6, 2011

Fabulous Find Friday: Yellow Accents

A day early, but I know if I wait til tomorrow, I'll forget! I've been working out M/W/F with a girlfriend; we're tackling a modified version of P90X (limited cardio for myself as whenever I do too much cardio, my breastmilk supply plummets). I'm also working on a few projects at home (I'll be posting about each one as I finish them!) And I'm doing what I can to help a girlfriend's family. Her oldest son has recently been diagnosed with Adrenal Cancer and she's asking for thoughts and prayer from those who are inclined.

On to FFF!
This week I've been inspired by  yellow 

We recently painted our master bedroom a deep red! Along with the black and white furniture and decor, I want to add a splash of yellow as an accent. I really love these options!

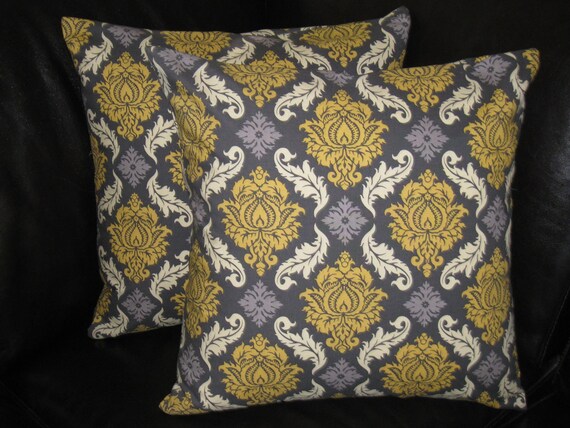
Grey & White Damask Pillow Covers with a dash of Yellow!
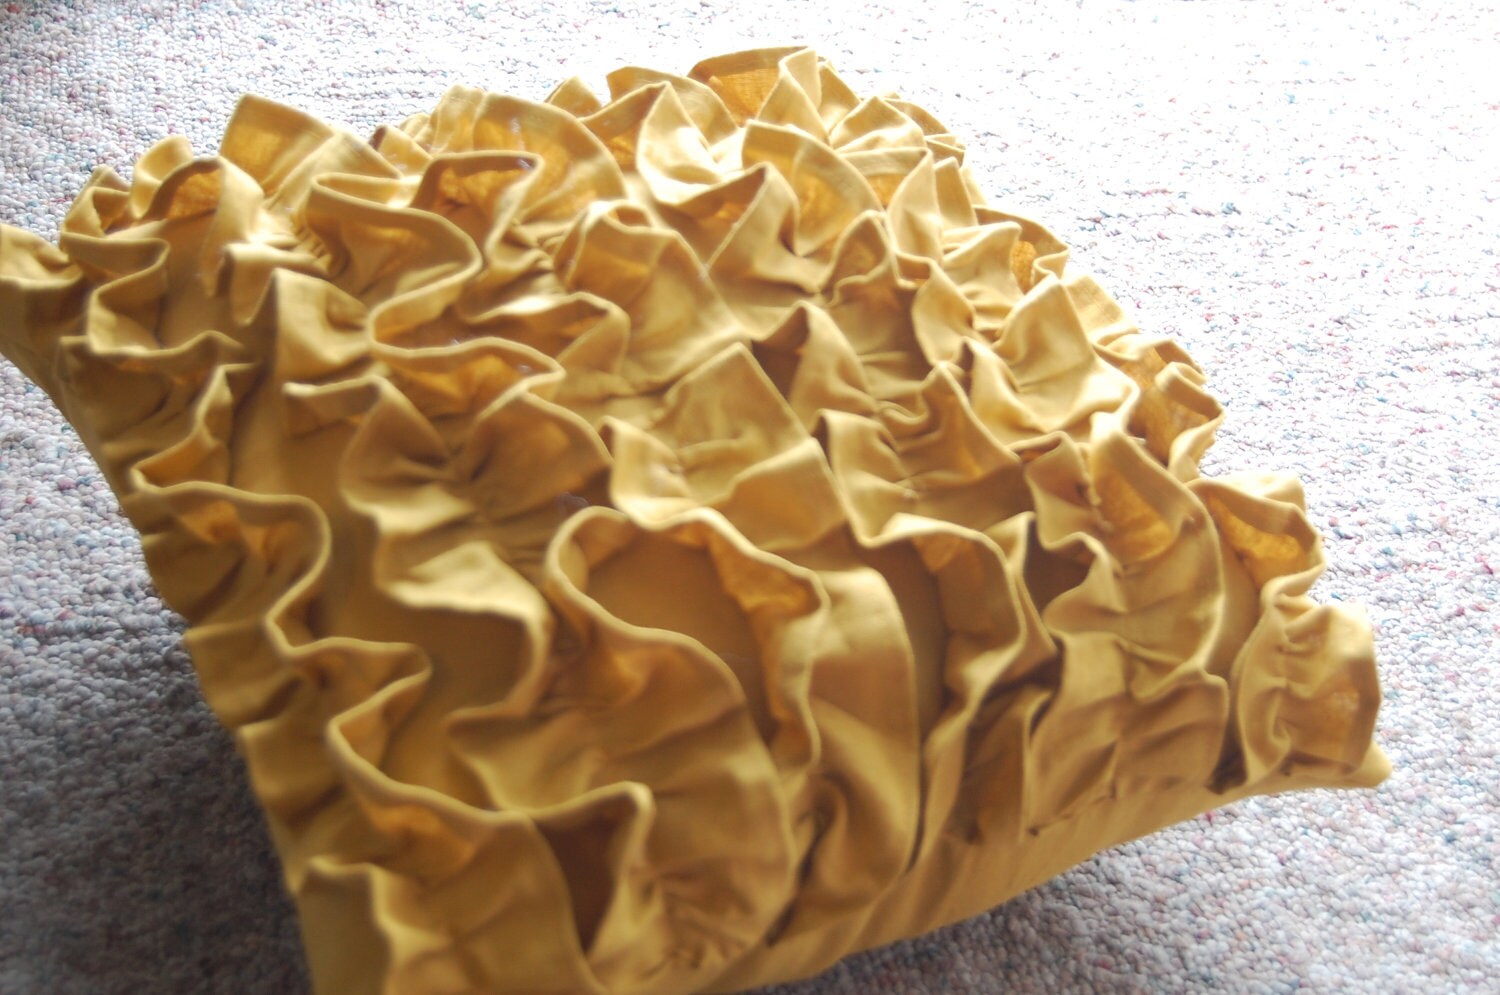
I love the flair of this Ruffles Pillow in Mustard!
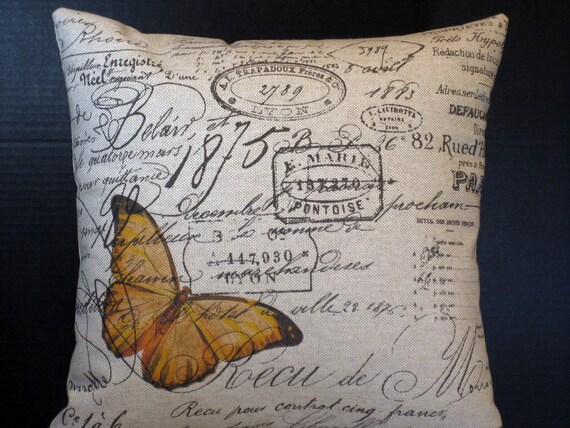
Dainty in a bold way, Yellow Butterfly in Paris Pillow!
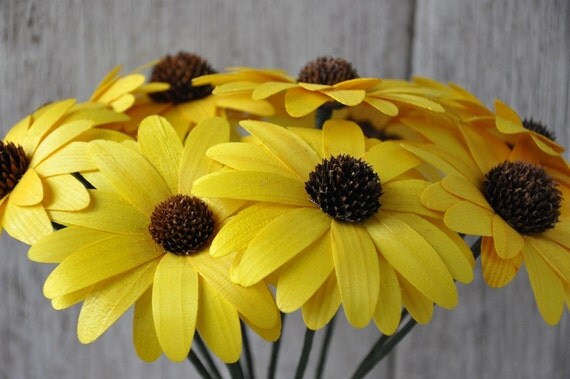
Can you believe this bouquet is made of Wooden Birch Shavings?
I plan on using this DIY tutorial for this Spray Paint Lace Shade!
I love the soft colors of this Damask Window Treatment!
The Shape and Lines of this DIY updated dresser make me smile.
And this Paisley Settee makes me want to grab a book and throw and waste an afternoon in the sun.
A simple Vase can always add color and depth to a room
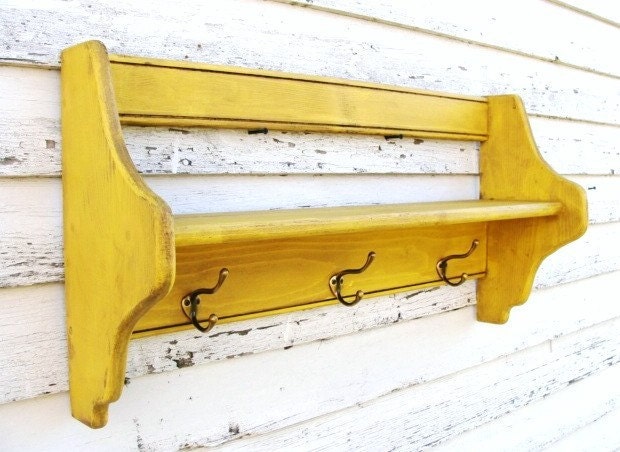
Keys, necklaces, scarfs, a spare sweater... A great spot to pick up the odds and ends.
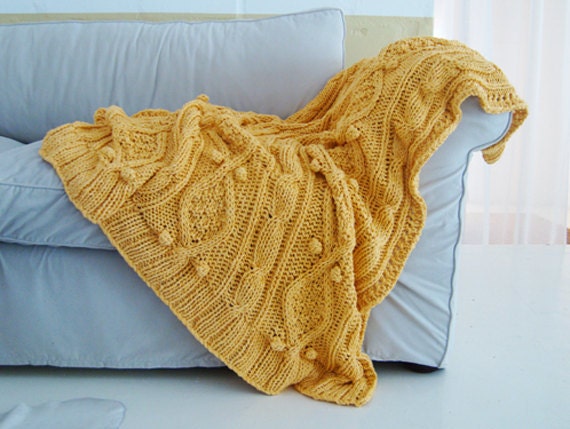
And last but not least, what's a bedroom without an inviting, cozy throw? I love this one in Sunshine Yellow!


{late} Wordless Wednesday: The Last of Summer


Look what Toddler picked for me!